Nervecentre V9.0 Help for Users
Updating document clinical notes
You can view, add, edit, and strike out documents within clinical notes.
To add a document to a clinical note, the clinical note must have the data type 'Document' and you must be adding the document within the scope of the note. For example, if the scope of the note is 'Visit', you can only add a document when the patient is in a visit.
Read more about clinical notes
You can add documents to a clinical note in two ways:
-
Add a file from an electronic source, for example, an email. The document types supported are PDF, PNG, JPG, and GIF.
-
Scan a document to a PDF file using a desktop scanner or mobile device
You might add a document if the document contains important patient information that needs to be visible to clinicians. Examples of this could be a repatriation handover document from another hospital or abroad, or a letter from an external agency with relevant information included.
Updating document clinical notes on a mobile
You can add, view, and strike out scanned documents on the mobile.
 About scanning a document
-
We recommend you don't scan more than five pages as part of one document. Scanning documents with more pages can cause your mobile device to run out of memory.
-
The mobile scanner is intended to scan text-based information. The scan resolution is fixed and might be too low to support images, such as ECGs.
Scanning a document
You scan a document directly to a clinical note.
-
Select a clinical note that can contain documents, for example, 'Scanned Documents'.
-
Select to open the camera.
-
Hold your mobile device over the document.
The scanner attempts to identify and automatically scan your document.
-
On iOS, a blue area appears over the document
-
On Android, a grey area appears over the document
If a transparent blue or grey area appears over the document, the scanner has identified the document and scanned it automatically.
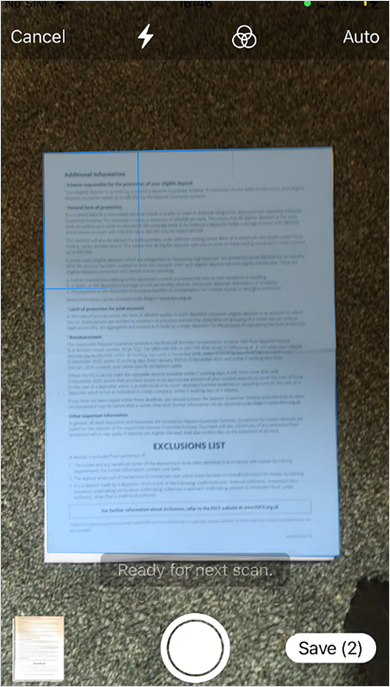
If the blue or grey area doesn’t appear, try moving your mobile device to a different position. For best results, hold your mobile device flat and directly over the document.
If the blue or grey area still doesn’t appear, you can capture and crop the image manually.
-
-
Take the photo.
-
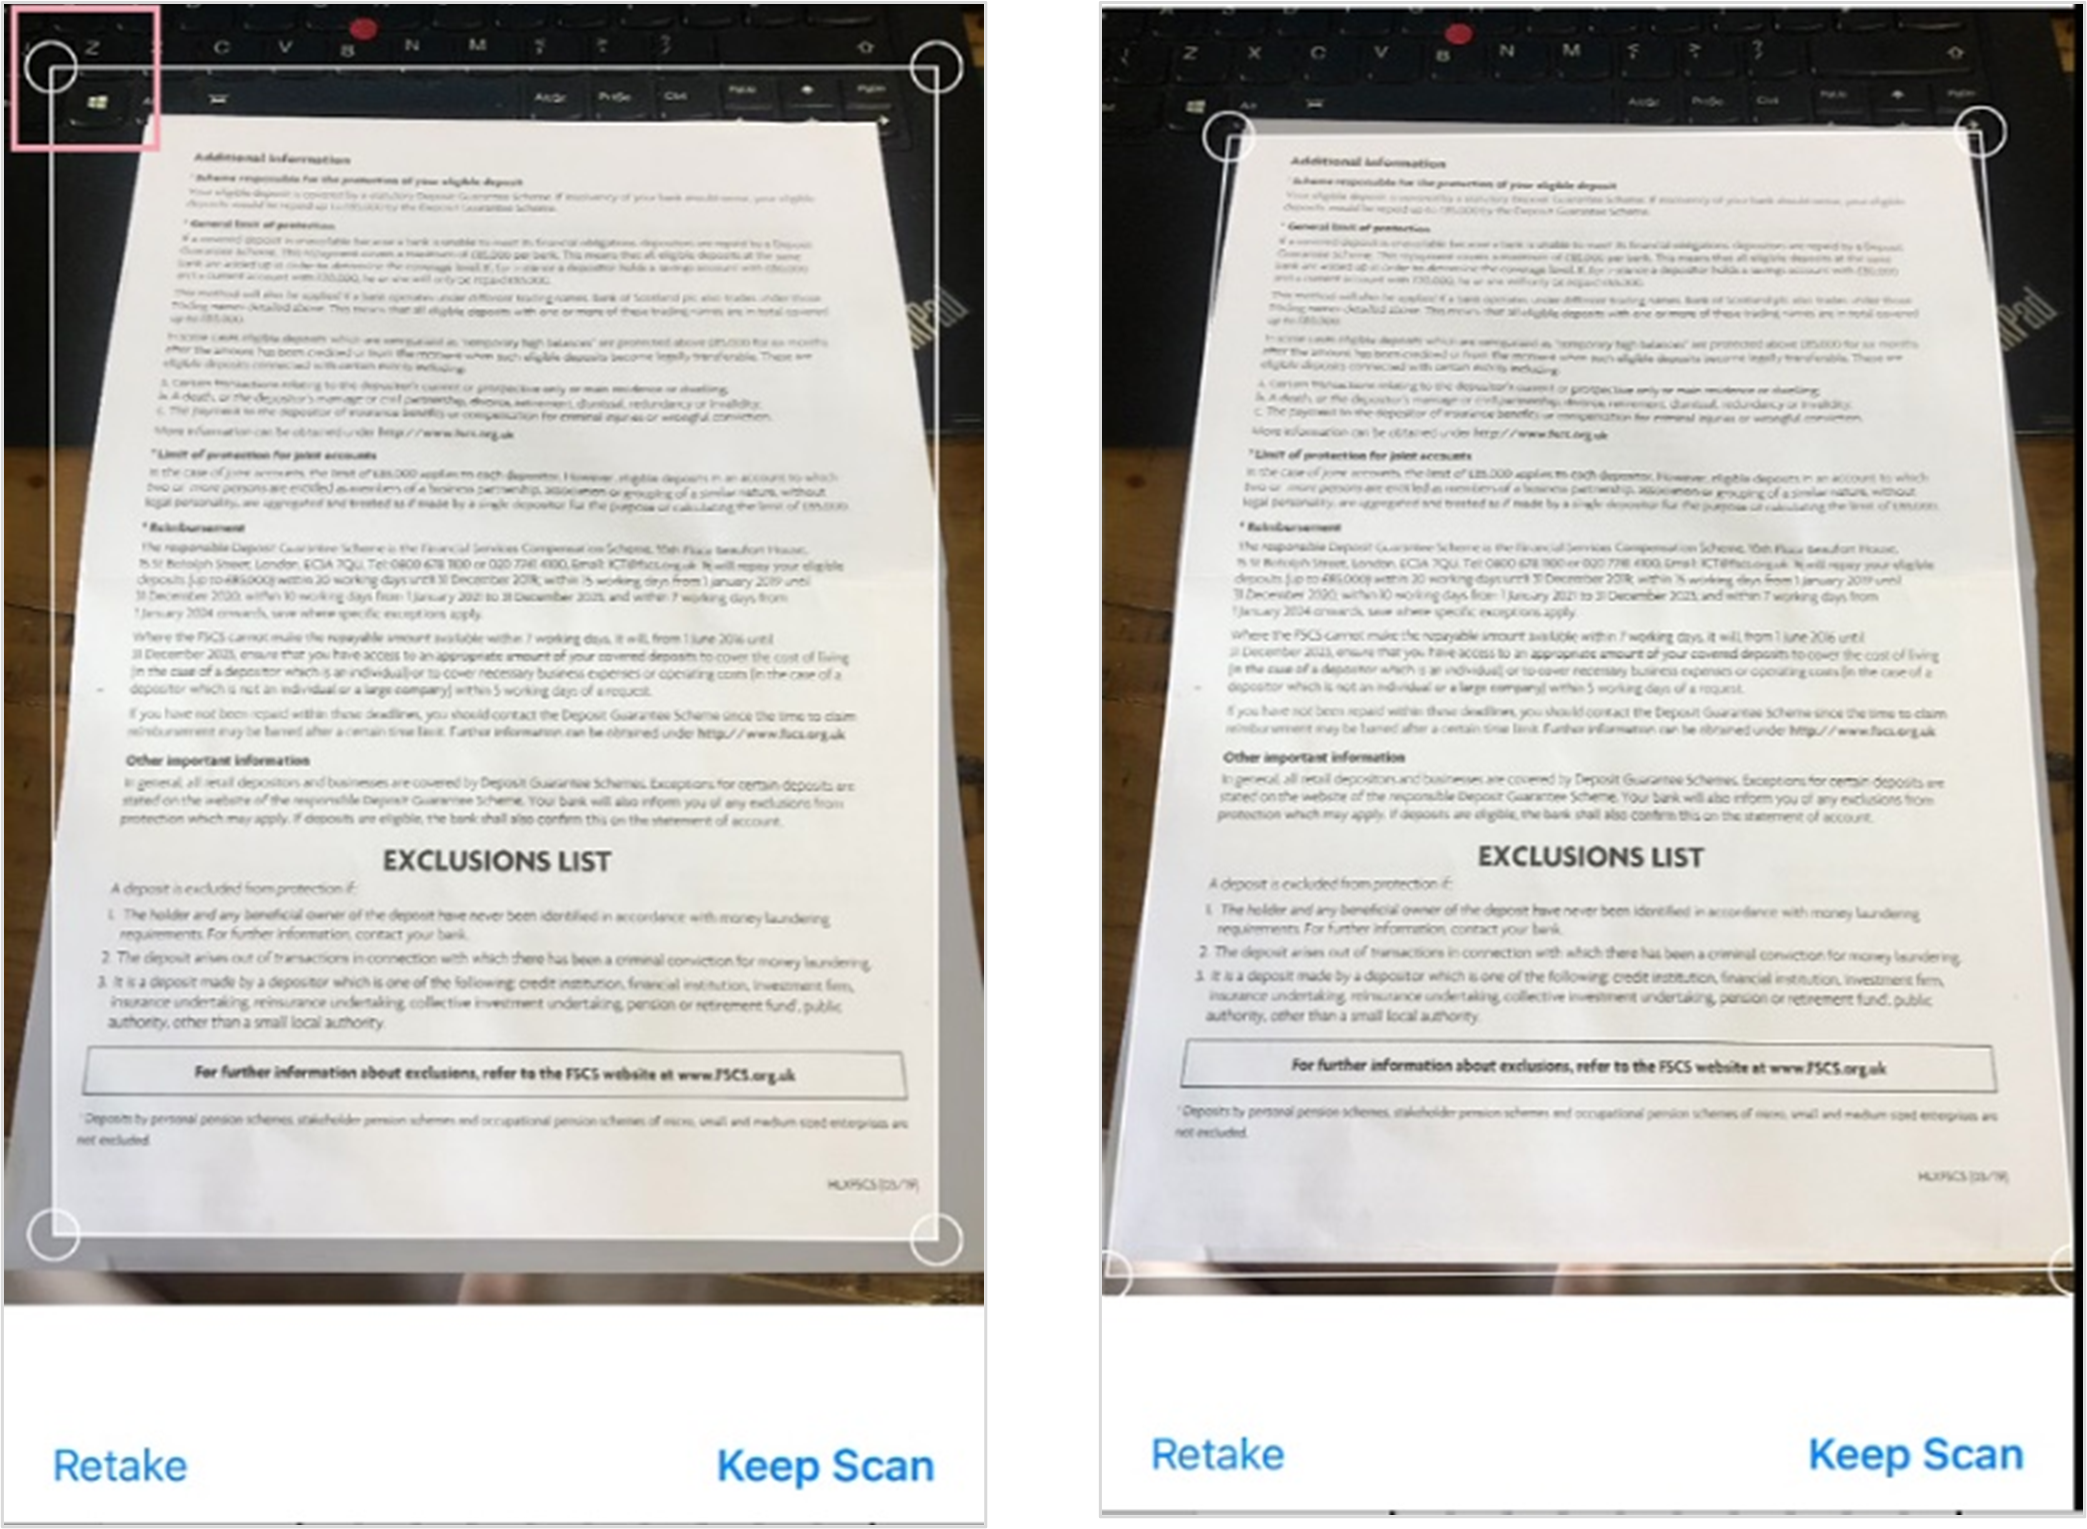
Drag the handles in each corner to crop the image.
-
When you are happy:
-
On iOS, select Keep Scan
-
On Android, select
-
-
Repeat steps 3 to 6 for each page of the document.
Very large documents can cause your mobile device to run out of memory. If your document has a lot of pages, consider breaking it into smaller documents.
-
When you have finished scanning the document, select Save and enter a name for the document.
Viewing a document
-
Select a clinical note that can contain documents, for example, 'Scanned Documents'.
-
Select the document you want to view.
All pages in the document appear in a scrollable vertical pane.
Editing the name of a scanned document
On iOS
-
Select a clinical note that can contain documents, for example, 'Scanned Documents'.
-
Select the name of the document.
-
Delete the original name and replace with the new title.
On Android
-
Select a clinical note that can contain documents, for example, 'Scanned Documents'.
-
Select the document.
-
Select the name of the document.
-
Delete the original name and replace with the new title.
Striking out a document
-
Select a clinical note that can contain documents, for example, 'Scanned Documents'.
-
Find the document.
-
Touch and hold the image.
-
Strike out the image.
-
On iOS, select Strikeout latest image
-
On Android, select OK
-
Updating document clinical notes on a desktop
You can upload, view, edit, and print scanned documents on the desktop.
Uploading a document
You can upload a document to a clinical note on a desktop. For example, a PDF file from an email.
-
Select a clinical note that can contain documents, for example, 'Scanned Documents'.
-
Select Choose files to upload and find the files to upload.
Or, drag files to Choose files to upload.
If you change the file extension of an unsupported file to a supported file extension, the file uploads, but the file does not display. This is not supported. Do not upload unsupported file types.
Viewing a document
When you view a scanned document, it appears in a viewing window provided by a third-party, for example, Adobe Reader. Your organisation controls the functionality within this tool. For more information about what you can do within the tool, search the third-party provider’s help.
-
Select a clinical note that can contain documents, for example, 'Scanned Documents'.
Read more about updating a clinical note
Uploaded documents are listed on the left-hand side.
-
Select a document to view it on the right.
Editing the name of a scanned document
-
Select a clinical note that can contain documents, for example, 'Scanned Documents'.
Read more about updating a clinical note
Uploaded documents are listed on the left-hand side.
-
Select the file name of a document to edit the name.
Replacing a document with a new file
You can replace a document in a clinical note with a new file on your desktop.
-
Select a clinical note that can contain documents, for example, 'Scanned Documents'.
Read more about updating a clinical note
Uploaded documents are listed on the left-hand side.
-
Select a document.
-
Select .
-
Find the file you want to upload.
Striking out a document
Striking out a file deletes it from the clinical note, but it still appears in the history for the clinical note.
-
Select a clinical note that can contain documents, for example, 'Scanned Documents'.
Read more about updating a clinical note
Uploaded documents are listed on the left-hand side.
-
Select a document.
-
Select .
Viewing file history and information about a document
The file history in for a document clinical note is at a lower-level and includes a history of new version uploads and file name changes.
-
Select a clinical note that can contain documents, for example, 'Scanned Documents'.
Read more about updating a clinical note
Uploaded documents are listed on the left-hand side.
-
Select a document.
-
To view the history of the file, select .
Or
To view information about the file, including user, date, and time of uploading, select .
Printing a document
-
Select a clinical note that can contain documents, for example, 'Scanned Documents'.
Read more about updating a clinical note
Uploaded documents are listed on the left-hand side.
-
Select the document.
-
From the PDF window, select .
When you view a scanned document, it appears in a viewing window provided by a third-party, for example, Adobe Reader. The buttons you see in the viewing window depend on the third-party tool you organisation uses.
Did you find this article helpful? Yes No
Sorry about that. Our help is a work in progress and we welcome any feedback.
Why wasn't this helpful? Please select one reason:
Great!
Thanks for taking the time to give us some feedback.